

Set up your project
- New project
- Existing Deno project
Start with the deno-template and follow its README.
Register the service to Restate
Once deployed on Deno Deploy EA, register the service with Restate using the CLI or UI. Use Preview URLs so that Restate can target specific Deno deployments:Restate identity keys (for Restate Cloud)
In order to make sure only a specific Restate Cloud environment can push requests to your Deno Deploy deployment, head over to your Restate Cloud Dashboard to set up Restate identity keys.Restate Cloud > Developers > Security
Set up Restate identity keys
CI/CD Automation
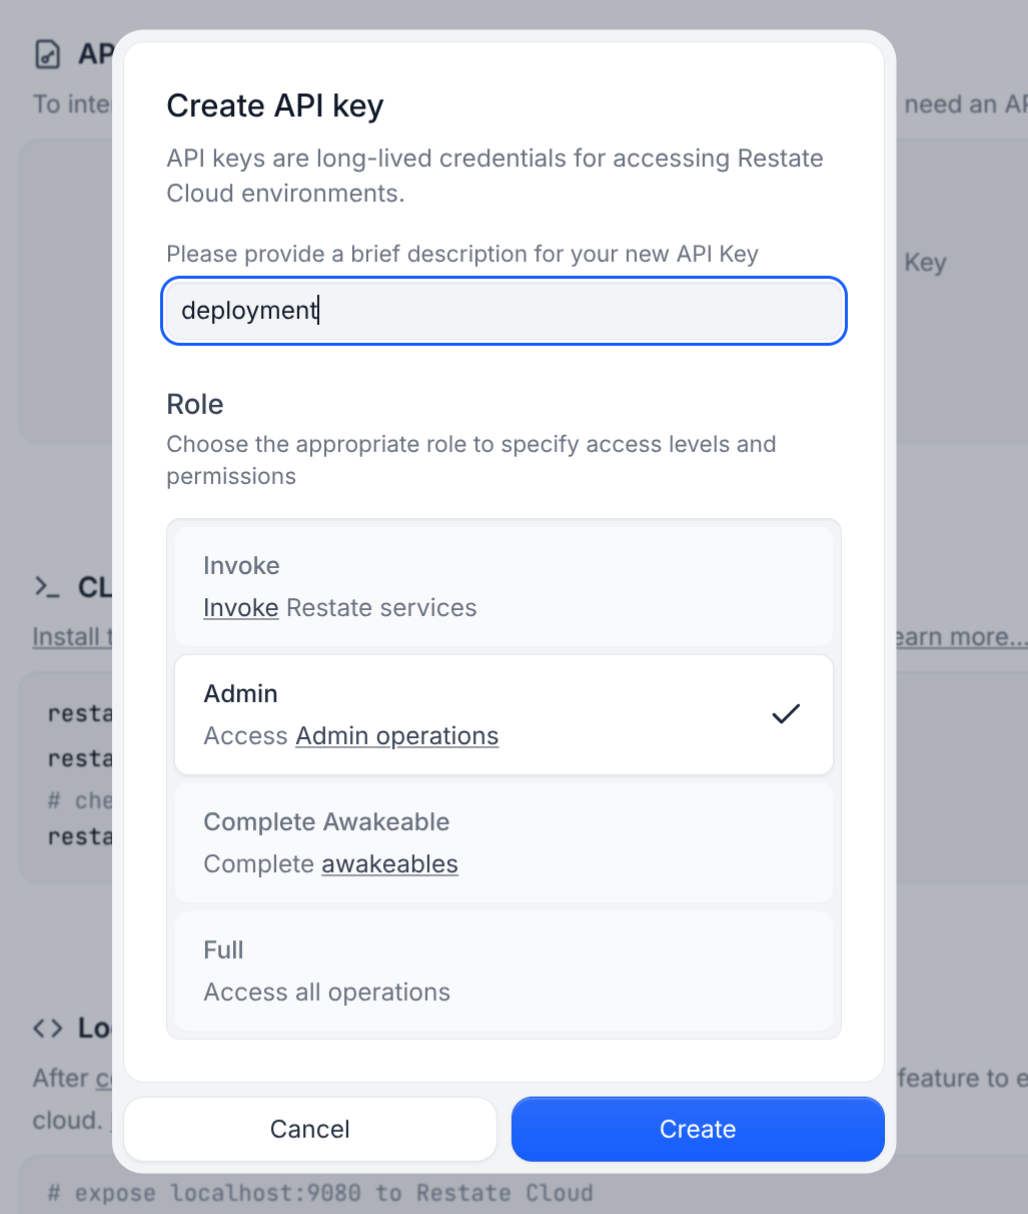
You can set up automation to register new Restate service versions every time you deploy to Deno Deploy:RESTATE_ADMIN_URL: The Admin URL. You can find it in Developers > Admin URLRESTATE_AUTH_TOKEN: Your Restate Cloud auth token. To get one, go to Developers > API Keys > Create API Key, and make sure to select Admin for the role
Deno Deploy Classic
Deno Deploy Classic
For Deno Deploy Classic, we suggest the following CI/CD setup that deploys to Deno and then registers the deployment with Restate:
Self-hosted Restate
Self-hosted Restate
You can use this workflow with Self-hosted Restate as well,
just make sure to correctly set up
RESTATE_AUTH_TOKEN and RESTATE_ADMIN_URL to reach your Restate cluster.